CCTV Camera Lighting: The Complete Guide for UK Sites
You've probably seen it before: a camera advertises 4K resolution, yet the recording from your driveway, yard, loading bay or car park becomes a blur after sunset. A floodlight may be shining directly across the scene, but faces disappear into shadow, wet tarmac throws glare back into the lens, and the brightest part of the image loses all detail.
That isn't usually a camera-quality problem alone. CCTV camera lighting is a design problem, and the important questions concern light direction, uniformity, reflection and camera sensitivity rather than raw brightness. For South Wales homes and businesses, where rain, reflective surfaces and changing ambient light are common, a well-positioned moderate light can produce more useful footage than a powerful fitting aimed in the wrong direction.
Table of Contents
- Why Lighting Design Matters More Than Camera Quality
- Choosing the Right Lighting Technology for Your Cameras
- Placement and Angles for Maximum Visibility
- Overcoming Night Vision Challenges and Glare
- Integrating Motion Sensors and Smart Systems
- Common Mistakes to Avoid in Security Lighting
- Next Steps for a Secure, Well-Lit Property
Why Lighting Design Matters More Than Camera Quality
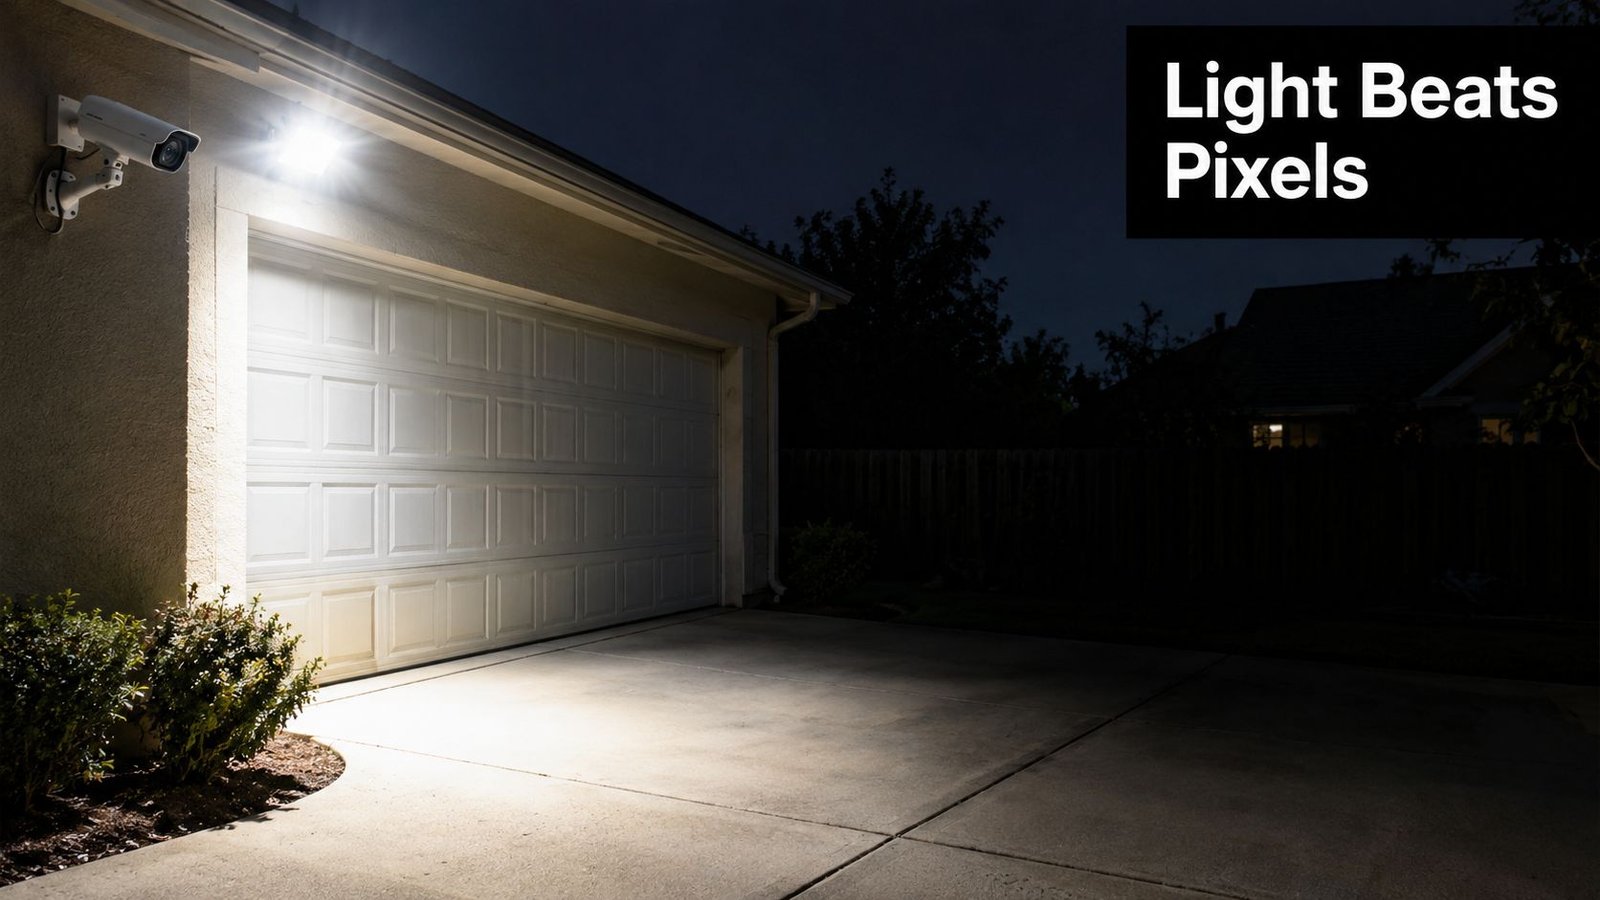
A high-resolution camera still produces weak footage when its sensor receives uneven light. A floodlight aimed across the lens can create a bright patch that forces automatic exposure down, leaving a fence, doorway or person in darkness. On a wet South Wales driveway, reflected light can also flare across the lower image and hide detail.
The useful test is exposure across the camera's actual target area. During an evening walkthrough, have someone move through the gate, vehicle entrance and doorway while you watch the live feed. If a face becomes readable only after entering a bright pool, the fitting is illuminating the ground more effectively than the subject. CCTV camera lighting should be assessed from the lens, not from the position of the person installing it.
Lux measures light falling on a surface, while the camera's lux specification indicates how well its sensor performs in low light. UK police guidance links image quality to both resolution and light sensitivity, measured in lux, and recommends considering the lowest suitable lux rating within budget for night operation. West Yorkshire Police guidance on CCTV and alarms also explains that night vision commonly records in black and white with infrared illumination.
Start with the camera's actual view
Check face height, boundary lines, vehicle plates and approach routes on the live image. A person standing in the yard may see plenty of light, while the camera sees a silhouette because the background is brighter than the face. Wet paving and glass can return glare into the lens, so inspect the feed in rain as well as dry conditions.
ProtectUK security-lighting guidance states that CCTV needs sufficient light to remain effective around the clock. The National Protective Security Authority specifies a minimum perimeter light level of three lux for visible-band CCTV support and identifies active infrared cameras as suitable for low-light environments.
Practical rule: A bright hotspot beside deep black areas calls for better distribution, not a brighter lamp.
For a home, move a wall light away from the camera axis and aim it across the approach. At a warehouse, assess each field of view separately. Identical floodlights around the building may leave overlapping beams, dark gaps and glare where the camera needs usable detail.
Choosing the Right Lighting Technology for Your Cameras
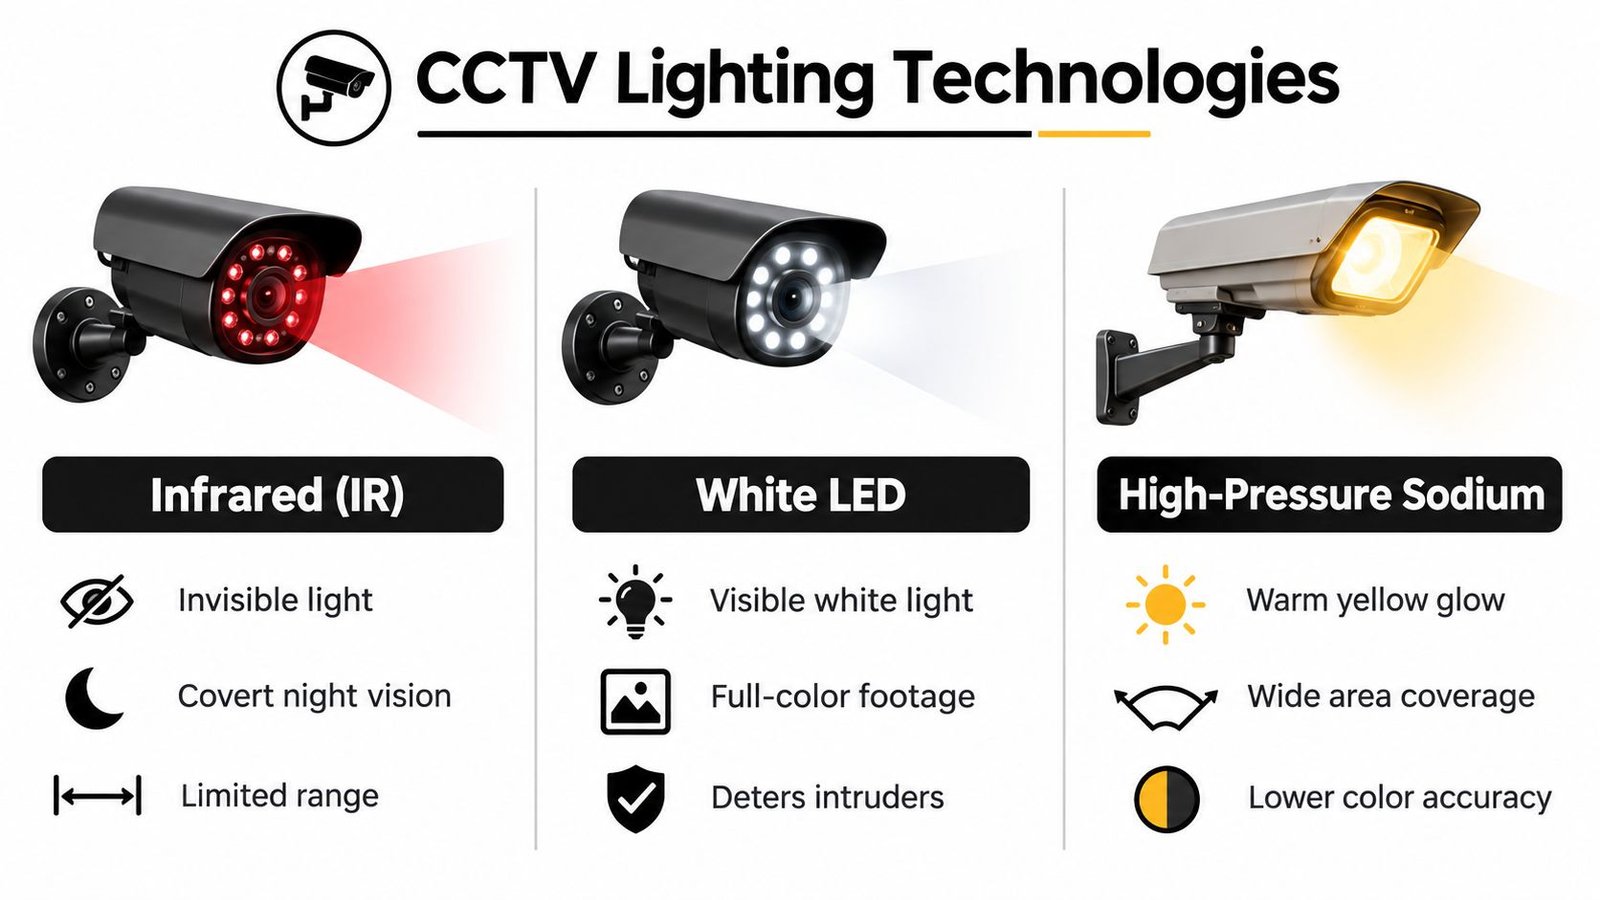
The right technology depends on whether you need covert observation, visible deterrence, colour information or broad area coverage. Infrared, white LED and high-pressure sodium can all support surveillance, but they produce very different results.
| Technology | Main benefit | Main limitation | Suitable application |
|---|---|---|---|
| Infrared | Invisible illumination and discreet night vision | Footage is normally monochrome and range is limited by the equipment and scene | Residential boundaries, yards and covert monitoring |
| White LED | Visible light, colour footage and a clear deterrent | Can cause glare, nuisance light or overexposure if poorly aimed | Entrances, car parks and active commercial areas |
| High-pressure sodium | Broad, established area lighting | Warm yellow light has weaker colour accuracy | Existing street-style or industrial lighting schemes |
Infrared for discreet coverage
IR is useful when visible lighting would disturb neighbours, affect staff or reveal the camera's operating state. It supports black-and-white images in low-light conditions and is often integrated into CCTV cameras. It won't provide reliable colour information, and nearby rain, mist, insects or cobwebs can reflect the infrared energy back towards the lens.
White LED for deterrence and colour
White LED is often the practical choice at a front entrance, shop frontage or car park where visible lighting helps people find their way and signals that the area is monitored. It can preserve colour information, but only if the camera and lighting are balanced. A fitting aimed into the lens can produce a worse image than a lower-output fitting positioned to illuminate people as they approach.
Colour rendering matters when you may need to distinguish clothing, vehicle paint or signage. Independent UK lighting guidance recommends a minimum CRI of 80, with CRI 90 for critical locations, so a neutral-looking lamp isn't automatically a reliable source for colour identification. This Reolink security camera review is a useful resource when comparing camera features such as night vision, image processing and the role of supplementary lighting.
High-pressure sodium in established schemes
High-pressure sodium can still appear on larger sites and older external lighting installations. Its warm yellow output can cover a broad area, but it generally offers less accurate colour representation than a good white LED. Replacing it isn't always necessary if the cameras are configured for monochrome operation and the lighting is uniform, but it should be assessed before relying on colour evidence.
For many South Wales properties, the sensible solution is mixed. Use visible LED where deterrence and colour matter, and IR where discreet coverage or low ambient light makes visible fittings unsuitable.
Placement and Angles for Maximum Visibility
A light should normally sit to the side of the camera's viewing direction, not directly behind it and not pointing back into the lens. The aim is to illuminate a person's face and clothing as they enter the scene while keeping the fitting itself outside the camera's most sensitive glare path.
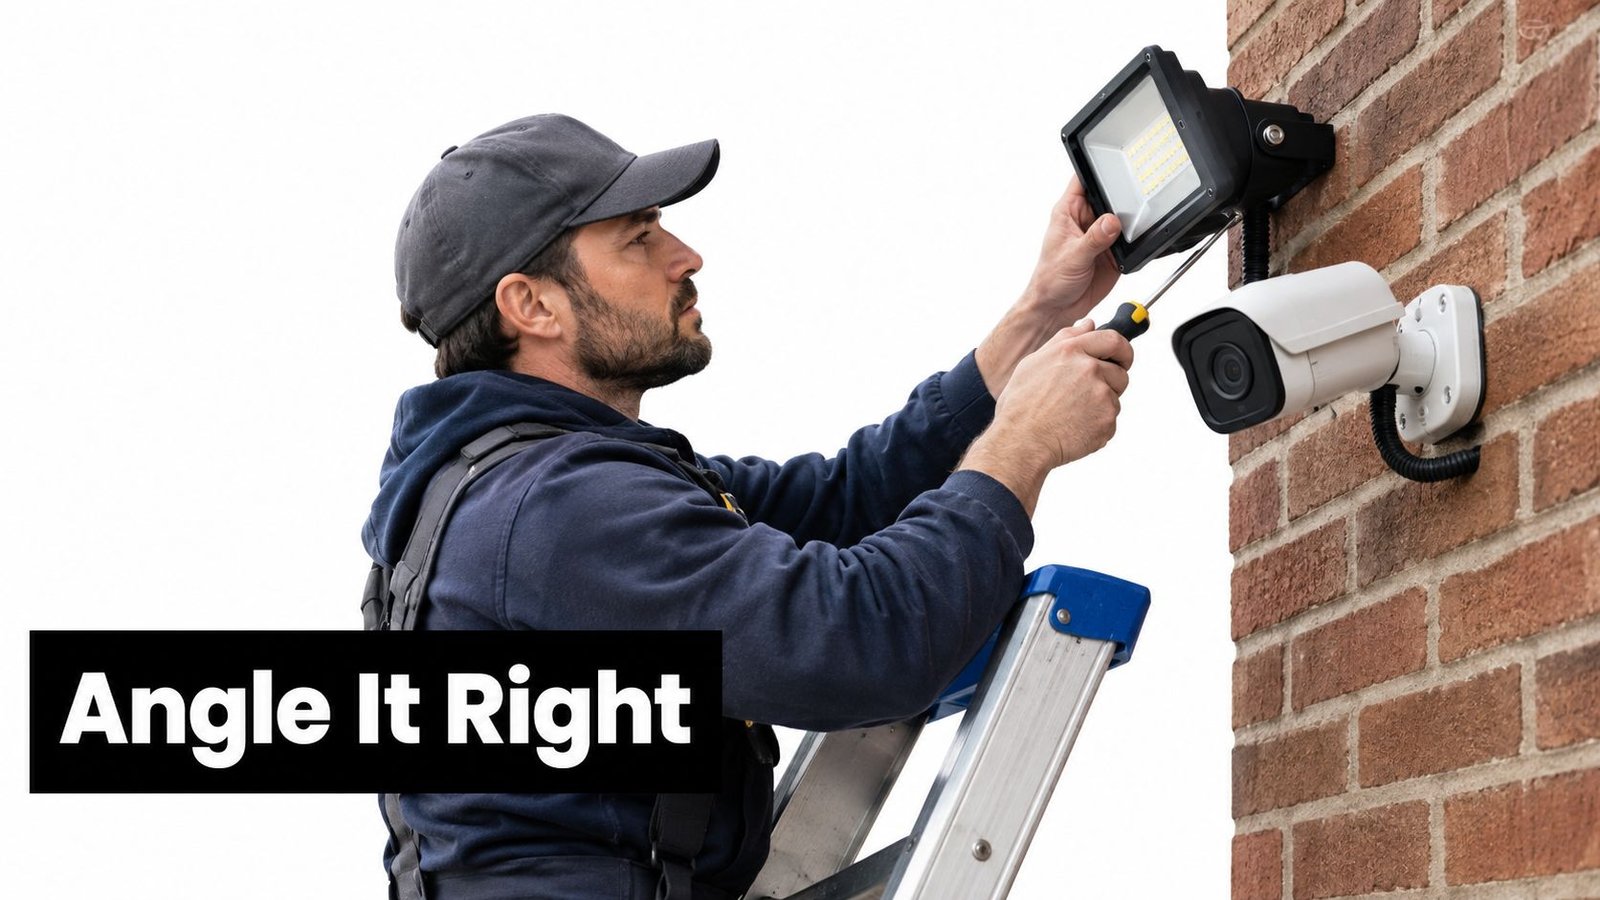
On a driveway, mount the light high enough to discourage tampering, then angle it down and across the route rather than straight out towards the road. Avoid aiming through a close fence. The fence may catch the strongest part of the beam, creating a pale foreground strip and a darker area beyond it. At a warehouse loading bay, place fittings so they illuminate the approach and loading face from an offset position, while keeping vehicle roofs and wet concrete from reflecting directly towards the camera.
Build uniform coverage
Uniformity matters because a person moving between bright and dark zones can disappear during the transition. ProtectUK's security-lighting guidance recommends high-efficiency lighting controlled by a photo-electric dusk-to-dawn cell, and the NPSA calls for perimeter lighting with uniform height and spacing. The guidance also warns that glare degrades CCTV performance.
Before finalising brackets, check:
- The lens direction: Keep the lamp's strongest beam outside the direct line of sight where possible.
- The background: Avoid lighting a pale wall or reflective roller shutter more strongly than the person in front of it.
- The boundary: Set fittings back from fences so they don't create climb aids or bright strips that obscure activity.
- The weather: Test the image after rain, when asphalt, puddles, vehicles and painted surfaces can produce strong reflections.
- The whole route: Check transitions between gates, paths, doors and parking spaces rather than one isolated patch.
Use the camera's live view while adjusting the fitting. General guidance such as DigiDevice's camera setup advice can help with basic viewing angles, but lighting still needs to be commissioned on the actual property. For broader camera-positioning principles, review where to place CCTV cameras before drilling mounting points.
A short video demonstration can help visualise the relationship between a camera and its light:
Overcoming Night Vision Challenges and Glare
At night, a camera can show a bright scene and still miss the person in it. The fault is often geometry, not brightness. Rain, wet paving, pale walls and nearby fittings can push light back towards the lens, reducing contrast where identification matters.
Diagnose the image before changing equipment. A soft veil that moves with weather or appears across the whole frame points to moisture, dirt, webbing or condensation on the lens cover. A fixed bright patch usually comes from a wall, sign, fence, vehicle or lamp within the camera's view. A dark subject against a bright background indicates uneven lux distribution or exposure compensation, rather than insufficient output from the light.
Check the recording at the distance where a person would approach, not only at the camera. Compare the subject's face with the surrounding background. If facial detail disappears as the person enters a lit area, lower the foreground brightness or adjust the exposure profile. If detail drops only in rain, inspect reflected surfaces and the camera's night mode.
Use a troubleshooting sequence
UK police guidance links effective CCTV operation with suitable illumination, and NPSA low-light guidance identifies IR as one option for dark environments. Apply that principle diagnostically:
- Inspect the lens cover and seal. Clean the dome, remove webbing and check for condensation. A damaged or poorly seated gasket can allow moisture to create a persistent haze.
- Check IR reflection distance. Look for a soffit, wall or bracket close to the camera. IR reflected from a nearby surface can flare even when the scene ahead appears clear.
- Separate glare from underexposure. A clipped white area indicates excessive reflected light. A uniformly noisy image suggests inadequate illumination or unsuitable camera settings.
- Control the light source. Use a hood, louvre or cutoff accessory where spill enters the lens. Change the beam pattern only after confirming the cause.
- Review exposure settings. Backlight compensation and automatic exposure can protect bright areas while leaving faces too dark. Test the available profiles with recorded footage.
A South Wales driveway can look balanced when dry, then produce strong glare after rain from asphalt, puddles, vehicles or painted surfaces. Test in both conditions and review the image at the intended identification point. For further practical checks, use this guide on how to improve CCTV night vision.
Integrating Motion Sensors and Smart Systems
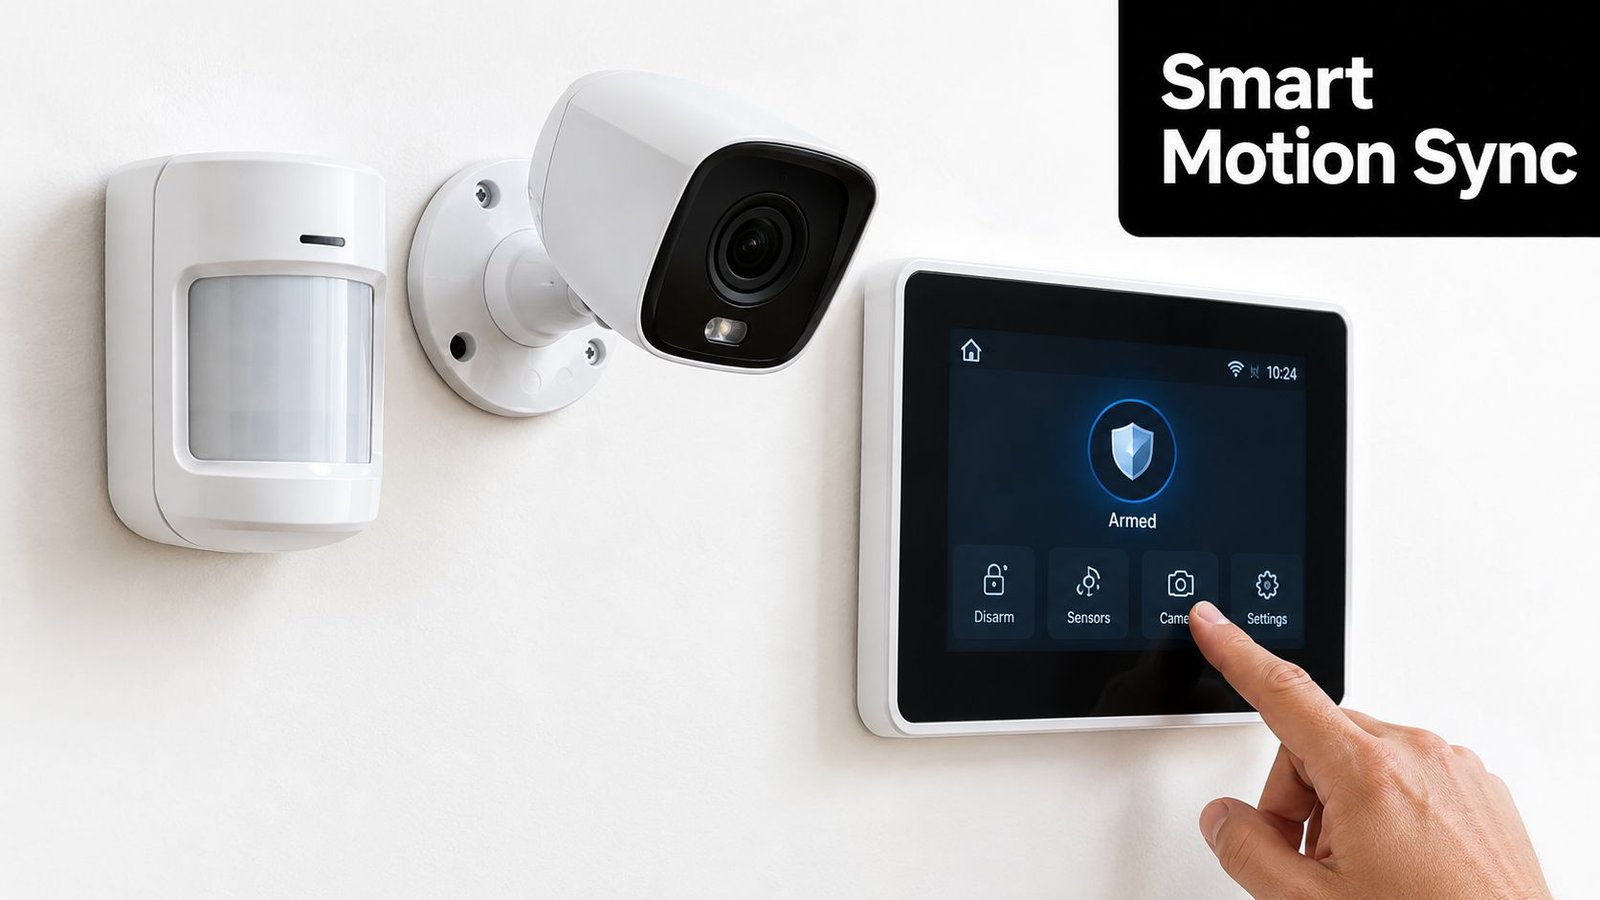
Lighting works better as part of a response plan than as an isolated fitting. A camera can record continuously or on schedule, while a motion sensor triggers a visible LED, sends an alert and prompts active monitoring. The system then provides both a recorded view and a change in the environment that may discourage continued movement.
Match triggers to the property
A home driveway may need a narrower detection zone covering the gate and parked vehicles, with lighting triggered only during agreed night hours. A warehouse may use separate zones for the yard, loading bay and staff entrance, so activity in one area doesn't illuminate the entire site or generate irrelevant alerts.
Motion detection in CCTV systems should be configured around genuine movement rather than every change in brightness or weather. Trees, flags, rain and vehicle headlights can all produce unwanted events. Adjust sensitivity, masking and trigger areas while watching real recordings, not just the live display.
A useful sequence is:
- Detection: A sensor or camera identifies movement within a defined zone.
- Illumination: The selected light comes on, or the camera switches to a suitable low-light mode.
- Recording: The system preserves footage before and after the trigger.
- Verification: A user or monitoring team checks whether the event is genuine.
- Response: The system can send an alert, activate an alarm or support a controlled access decision.
Continuous low-level lighting may be preferable where staff, visitors or vehicles move throughout the night. ProtectUK guidance says lower continual light can be more effective as a deterrent than sudden bright illumination, so motion activation shouldn't automatically replace background lighting. It should complement a carefully distributed baseline where the site needs constant visibility.
Common Mistakes to Avoid in Security Lighting
The most common mistake is treating brightness as a security specification. A powerful fitting can create glare, hard shadows and excessive contrast. It may illuminate the face of a building while leaving the approach dark, or shine into neighbouring windows without improving the camera image.
A better design controls where light lands, how evenly it is distributed and what the camera sees from its installed position. NPSA CCTV guidance highlights the need for uniform perimeter lighting and a minimum of three lux for visible-band camera support. The figure is useful as a baseline for design, but it doesn't replace a site assessment. A camera facing a reflective wall can still produce poor footage even when the measured light level appears adequate.
Errors that cause avoidable failures
- Aiming lights at the camera: The lamp may brighten the scene for the installer while overexposing the recording.
- Ignoring uniformity: Gaps between beams create dark transitions where faces and clothing lose detail.
- Mounting beside reflective surfaces: Wet paving, white walls and metal doors can throw light straight back into the lens.
- Using unshielded fittings: Spill can affect neighbours, drivers and nearby roads while adding no useful coverage.
- Skipping nighttime commissioning: Daylight testing cannot reveal IR flare, glare from rain or exposure changes after dusk.
- Treating compliance as an afterthought: Security lighting should be coordinated with site safety, access routes and neighbour considerations. Separate guidance, such as this overview of Dublin emergency lighting compliance, illustrates why emergency and security lighting have different purposes and should not be confused.
The College of Policing reports a 16% overall crime reduction for CCTV schemes, with a 51% reduction in parking facilities, while city and town-centre schemes recorded a 7% reduction and were often small or non-significant. These findings come from College of Policing guidance on situational crime prevention, and they reinforce a practical point: outcomes depend on context, coverage, monitoring and supporting measures, not just the number of lamps installed.
Next Steps for a Secure, Well-Lit Property
Begin with an after-dark audit. Stand at the entrance, boundary, vehicle route and vulnerable access points, then review the camera feed rather than relying on what looks bright to the eye. Look for faces entering shadow, reflective patches, glare from lamps, dark gaps between coverage zones and light spilling beyond the property.
Use this sequence for an upgrade:
- Define the task. Decide whether each camera needs to detect movement, recognise a familiar person or support identification.
- Check the camera specification. Review low-light sensitivity, IR capability, exposure controls and whether colour footage remains useful after sunset.
- Measure the scene. For visible-band cameras, assess illumination with a lux meter and compare the result with the design requirement. The NPSA's three-lux perimeter baseline is a useful reference for UK planning.
- Correct geometry. Reposition lamps, add shielding and remove reflective obstacles before buying higher-output fittings.
- Test in bad conditions. Review recordings during rain, darkness and vehicle movement. Wet surfaces can expose problems that remain hidden during dry commissioning.
- Integrate response. Connect lighting with motion zones, recording, alarms and remote alerts where the property needs active verification.
A small home installation may only need a better camera angle and a shielded LED fitting. A warehouse, car park, boundary fence or multi-tenant building needs coordinated design across lighting, CCTV, access control and maintenance. Professional commissioning is particularly valuable where several fields of view overlap or where light could affect neighbours and public routes.
For a site assessment covering IR cameras, supplementary lighting, recording and related security systems, contact a qualified local installer rather than choosing fittings from brightness figures alone.
Wisenet Security Ltd designs, installs and maintains CCTV systems for homes, businesses, warehouses, car parks and managed properties across South Wales and the South West, including camera lighting, IR night vision and remote viewing. Visit Wisenet Security Ltd to arrange a consultation and review whether your current lighting provides usable footage after dark.