
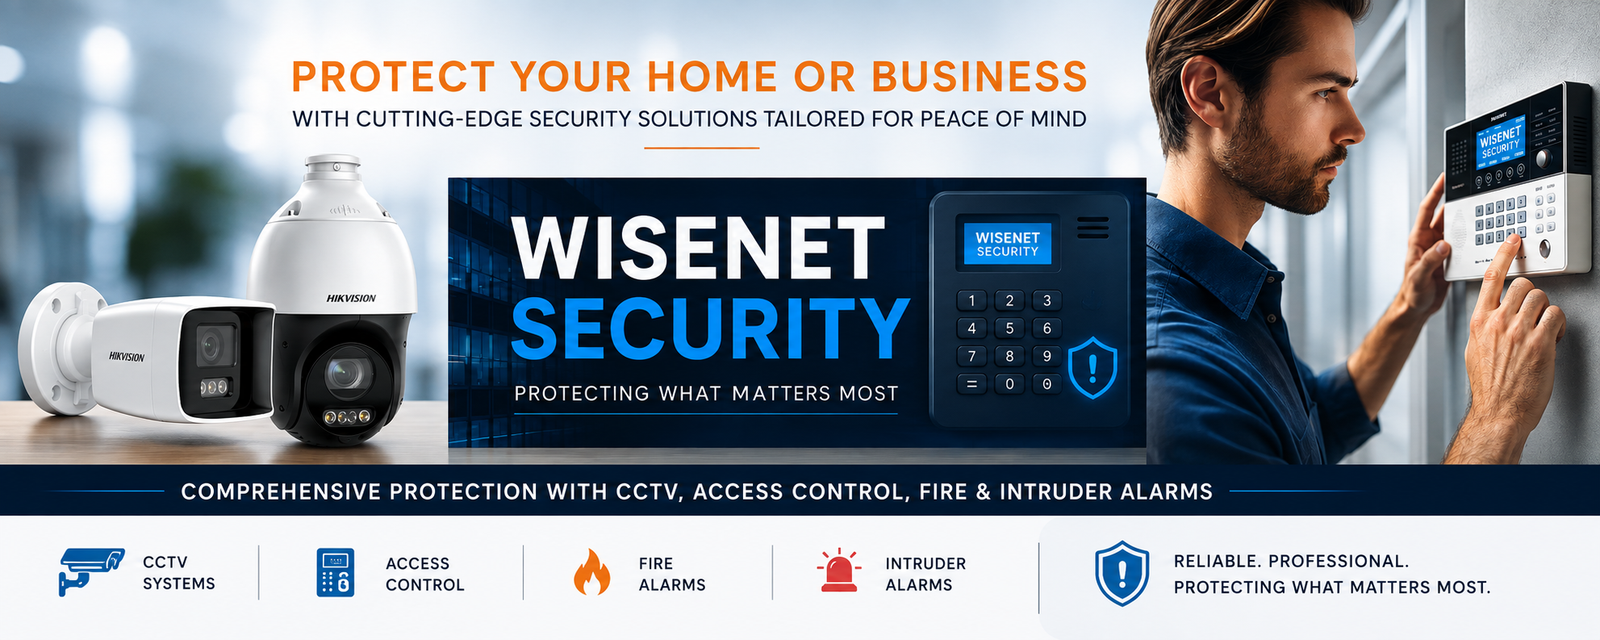
Tired of Security Blind Spots? A Practical Guide to PTZ Camera Installation
Imagine waking up to an alarm notification in the middle of the night, checking your live surveillance feed, and watching a suspicious figure walk right off the side of the screen. You rewatch the footage, hoping for a clear shot of a license plate or face, but the suspect disappears into a massive blind spot near your rear perimeter.
This frustrating scenario plays out far too often for local home and business owners across our region. Traditional static security cameras only capture a single, unmoving angle. When crucial events happen just a few feet to the left or right, your expensive surveillance equipment suddenly becomes useless.
Why Security Blind Spots Happen (and What They Cost You)
Most standard security setups rely on fixed-lens cameras. While effective for monitoring a narrow doorway or specific entryway, static cameras leave expansive areas—like parking lots, auto dealerships, farm acreage, and residential backyards—vulnerable. To cover every angle using fixed hardware, you would need to purchase, wire, and maintain a dozen individual cameras.
Leaving these gaps unaddressed comes with a heavy price tag. Unsolved property theft, unidentifiable vandals, denied insurance claims, and liability disputes often stem from insufficient video coverage. Relying on an incomplete system creates a false sense of security while leaving your asset protection to chance.
Replacing a cluster of static hardware with a proper Pan-Tilt-Zoom (PTZ) setup solves this exact problem. A single PTZ unit can rotate 360 degrees, tilt vertically, and zoom in on distant details automatically.
Below are three practical approaches to PTZ camera installation, depending on your property layout, technical experience, and budget.
Solution 1: Do-It-Yourself Power over Ethernet (PoE) PTZ Installation
For tech-savvy property owners, a wired Power over Ethernet (PoE) setup offers a reliable, low-latency fix.
Practical Steps:
1. Map Your High-Vantage Point: Mount the camera at least 10 to 15 feet high on a sturdy wall or corner bracket to maximize pan clearance and prevent physical tampering.
2. Run Cat6 Network Cabling: Execute a single Cat6 cable run from your interior NVR (Network Video Recorder) or PoE switch directly to the exterior camera location. PoE delivers both power and data through one cable.
3. Set Up Automated Patrol Routes: Access the camera’s management console via a web browser to configure preset tour paths, instructing the camera to automatically pan across vulnerable zones every few minutes.
The Trade-off: Running network cable through exterior walls, attics, and soffits requires DIY comfort with drills and fish tape. Additionally, if the mounting structure is unstable, high winds will cause excessive image jitter when zoomed in.
Solution 2: Professional Turnkey PTZ Installation and Integration
If your property demands enterprise-grade monitoring, commercial auto-tracking, or integration with existing alarms, hiring a certified local security technician is the safest route.
Practical Steps:
1. Comprehensive Site Audit: A technician evaluates lighting, structural mounting options, and potential obstruction points (such as tree lines or overhangs).
2. Conduit and Hardwired Rigging: Installers run heavy-duty, weather-rated EMT conduit to protect cabling from weather and vandalism.
3. Advanced Feature Configuration: Professionals program AI-driven auto-tracking, enabling the PTZ camera to automatically lock onto and follow human or vehicle movement across your lot without manual intervention.
The Trade-off: Professional PTZ camera installation requires a higher upfront financial investment compared to consumer off-the-shelf kits. However, it eliminates technical headaches and ensures your system complies with local privacy laws and municipal commercial codes.
Solution 3: Wireless or Solar Hybrid PTZ Setup for Remote Boundaries
If you need to monitor remote entry gates, construction sites, or detached storage sheds where running physical network cables is impractical, a wireless point-to-point or solar-assisted PTZ installation is the ideal solution.
Practical Steps:
1. Establish a Wireless Bridge: Mount a point-to-point wireless transmitter on your main building and a receiver on the remote pole or structure.
2. Install Local Power: Connect the PTZ unit to an existing outdoor power outlet or a dedicated solar panel array paired with a deep-cycle lithium battery bank.
3. Optimize Signal Line-of-Sight: Ensure clear visibility between the wireless antennas to avoid lag during remote pan-tilt control.
The Trade-off: Wireless signals can suffer from local frequency interference, and solar setups depend heavily on daylight availability. During extended stretches of overcast winter weather, power reserves may drop if the panel system is undersized.
Take Your First Step Toward Complete Property Coverage Today
You do not need to wait for an incident to expose the weak points in your security strategy. Today, take 10 minutes to walk around your property perimeter at dusk. Note every blind spot your current setup misses, and count how many static cameras it would take to cover those gaps compared to a single sweeping unit.
Once you have mapped out your coverage needs, reach out to a trusted local security specialist to request a site evaluation, or compare PoE PTZ camera specs to find the best hardware fit for your property.